

-
Metronome from an Event Badge
Posted on May 3rd, 2021 No comments
Did I mention that I am learning to play the piano? When I started reading music I expected the hard part will be recognising the notes, but with practice I’ve got that fairly sorted. The consistently hard part is recognising the rhythms and being able to play them right. I found having a metronome or drum track really helps with rhythm practice.
I’ve been a bit frustrated that none of the metronome options I found were quite what I wanted. There are 1001 apps of course, offering many features, but I find them a bit painful to configure how I want, and the UIs often trade gloss for practicality. Plus, somehow having my phone in front of me when I am playing isn’t quite nice. Stand-alone metronomes on the other hand seem to be too basic with klunky controls and poor displays. I wanted something that covered 90% of my use cases in a way that was simple, visual and usable.
I also had an unusual requirement that doesn’t seem to be supported in any off-the-shelf solution I could find. I wanted to use a pedal to play the beat myself, but have that mapped on to a drum pattern to help follow the strong and weak beats in a bar.
I recently got a Korg Volca Beats (VB) as a way to create easy drum tracks. It’s basic, but fun. It almost passes muster as a metronome too, but again it can be a bit too much effort to configure. My initial goal was to use the sync in signal on the VB to provide a pedal input to step through its sequence. Sounds simple, but in practice it was a nightmare. The VB seems to do some kind of interpolation of the sync in signal and if its slightly irregular it can trigger weird double steps on the sequencer. After a lot of frustration I gave up on that approach.
I went for one last try with an idea to use the MIDI in on the VB to trigger the drums from an external sequencer that could work like a normal metronome or be stepped using a pedal. Like many people I have a box full of development boards from various sources and rather than buy something new I wanted to use one of those. It came down to a ESP8622 board from a Nottingham Hackspace event or the Tilda Badge Mk 3 from EMF Camp 2016. Something had broken compatibility between the current Arduino IDE and the ESP8266 board I had, so I went with the Tilda Badge which turned out to be really well suited to the job.
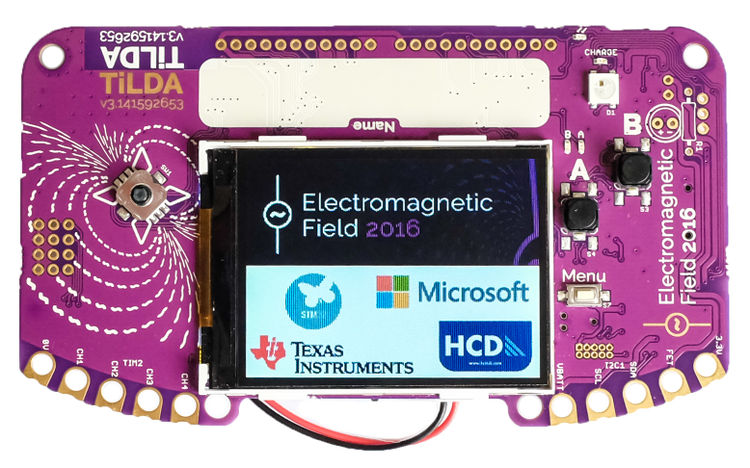
The Tilda Badge Mk 3 The Tilda Badge is programed in Micro Python which is really productive once you get your head round how to use it. The approach I used was different from the ones suggested in the documentation. I connected the badge to my PC which allows it to mount as a mass storage device and as a serial console. Copying a file called “main.py” to the root of the mass storage device creates an application that the Tilda Badge will run on boot. I edited my main.py on the PC and just used a CMD command line to do the copy. To run without resetting the badge, I used this command in the – 115200 BAUD – serial console (courtesy of Stackoverflow):
>>>
exec(open("main.py").read())The advantage of this approach was I didn’t need to install anything special on the PC and I could quickly iterate versions.
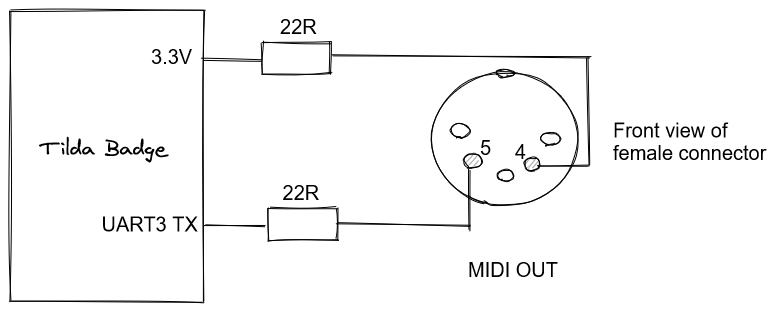
To support a MIDI output I just had to add the simple circuit below to the UART3 TX which is available on the GPIO port of the Tilda Badge. (Note – the pin positions on the DIN connectors used for MIDI are totally confusing. I think this is right, but I would rely on the pin numbers more than the positions in the event of conflict!) The pedal is just connected between the CH1 GPIO pin and ground.
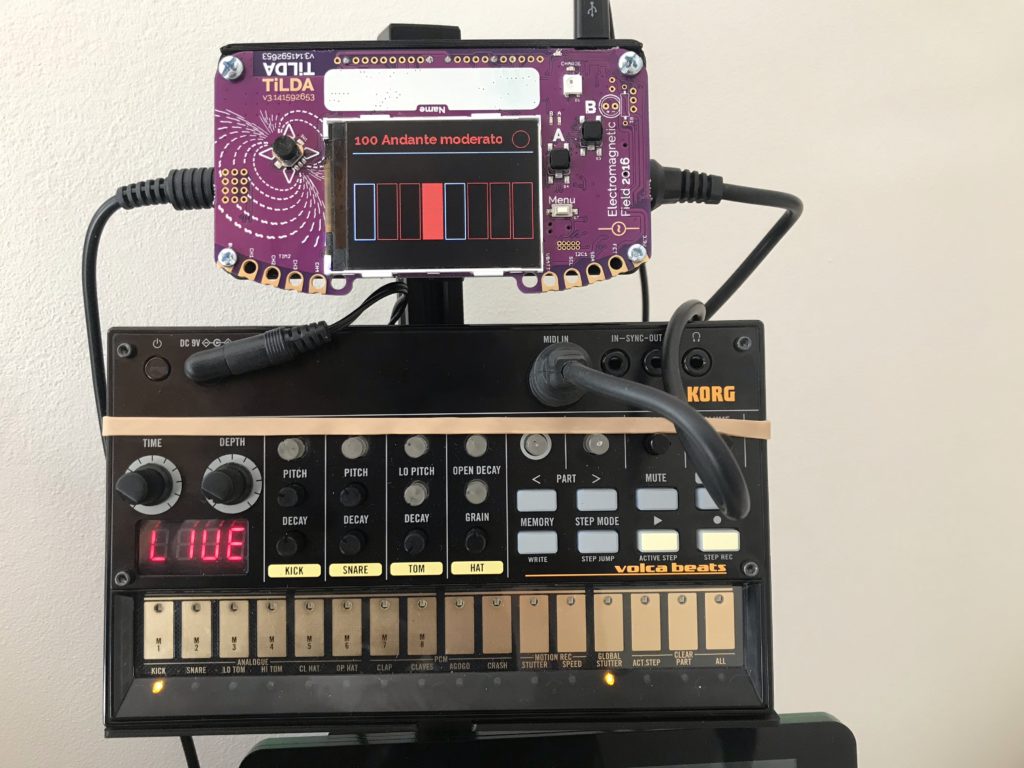
The Tilda Badge turns out to have just the right level of functionality for this application. The connectivity is more than good enough. The display is big and clear enough to show a good visualisation. There are enough buttons to provide easy access to all the services without having to do any “menu diving”.
Software for the Tilda Badge is here (it’s very rough, but does the job).
The finished project integrates in to an accessory system I build with V-slot on the back of my piano stand (that’s another story). I 3D printed a case that attaches the Tilda Badge to the V-slot. It keeps the front of the Tilda Badge PCB fully visible so you can still see its origin, but it protects the back and provides mounting points for the MIDI and pedal sockets.
Overall it is a really pleasing project and it’s nice to find a long-term use for one event badge. It’s fair to say I haven’t been a fan of the trend for electronic event badges – I think a lot quickly become e-waste and they can be a distraction from other parts of the event. But in this case it has been practical as well as cool. It also shows the value of an open, and documented, project that I was still able to pick up the badge after 5 years and immediately start developing on it.