
Note the Vibrati Punk Console kits are no longer available - these pages are kept for reference and interest. You can find the schematics and source code in these documents, but the PCB designs are not currently public.
Build Step 9 - Checking
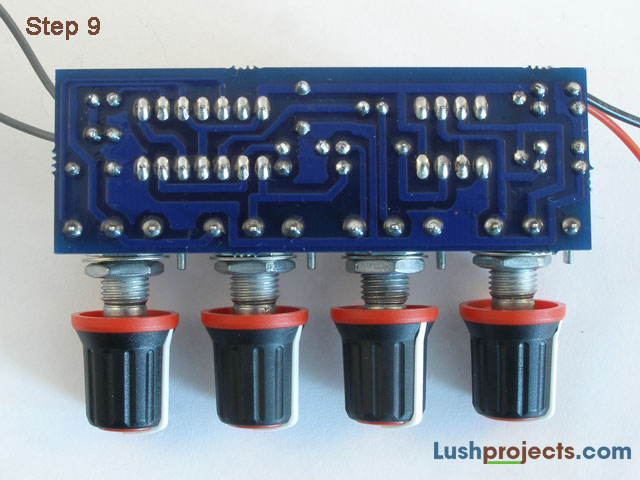
Congratulations – you have now completed all the soldering on the Vibrati Punk Console. Now is a good time to take a break and rest your eyes and hands for a moment.
I know you want to switch the Vibrati Punk Console on, but carefully checking the circuit now will save a lot of problems later. Take a while to carefully check the circuit and fix any errors. Carefully inspect all the components and connections. Things to particularly look for:
- All connections neatly soldered and not accidently bridged on to adjacent solder points
- Wiring to battery connector/switch and speaker corresponds to the diagrams
- Large capacitors and Integrated Circuit (IC) sockets are round the right way
- C3 is a different value to all the other small capacitors
- VR2 is a different value to all the other variable resistors
Previous
Step 8
Step 8