
Note the Vibrati Punk Console kits are no longer available - these pages are kept for reference and interest. You can find the schematics and source code in these documents, but the PCB designs are not currently public.
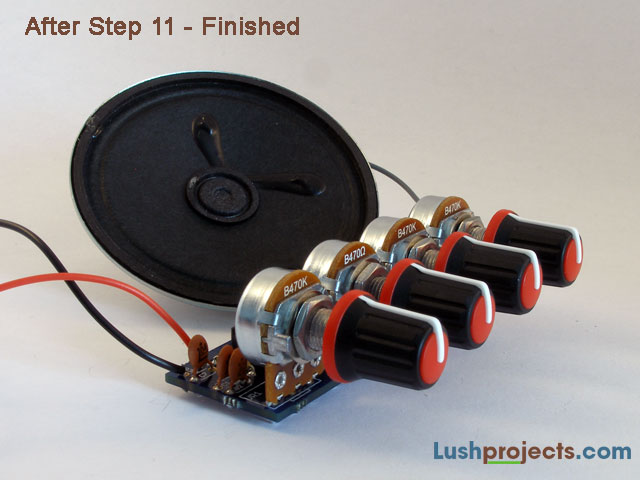
Build Step 11 - Turning On and Testing
Now is the big moment! Set the four variable resistors to approximately
the middle of their range. Set the switch to the “OFF” position (refer
to the diagram in Step 8 to check the OFF position). Connect a 9 Volt
PP3 battery (not supplied in the kit) to the battery clip. Take a deep
breath and switch the circuit “ON”. If it makes a sound it’s working.If things don’t work then DON’T PANIC. Here are some things to check.
- Have you checked the power switch in both positions?
- Have you put all the components in? In particular check the wiring to the battery and switch.
- Make sure the variable resistors are around the middle. This is where the circuit works best.
- Go back to Step 9 and double check everything. 99.9% of problems are caused by small mistakes in wiring – eg solder bridges between connections or bad solder joints.
- Are the ICs and large capacitors in the right way? If you put the ICs in backwards you may have destroyed them :-( Replacement ICs are easy to obtain though :-)
Hopefully you are now the proud owner of a Vibrati Punk Console. Have fun.
Previous
Step 10
Step 10