
Lunar Lander Mk 2
It's over 10 years since I made my Mk1 attempt at a physical model of the arcade classic Lunar Lander. The machine was a monster of size and complexity which was both its strength (it looked impressive) and its downfall (it needed too much space, it was prone to problems). Lunar Lander Mk1 only had a short working life before being retired and dismantled.
Since then, I've wanted to do a Lunar Lander Mk 2 in a more compact, robust, and minimal format which might have more longevity. I was inspired by the arcade at Null Sector in EMF Camp 2018 to do actually start the project with a view to it being an installation for EMF Camp 2020.
Design Ideas
These were the ideas I went in with:
- Use an X-Y frame built with V-Slot, similar to my 3D printer, to move the lander model horizontally and vertically (avoiding the need for the model to be suspended on fishing line which was one problem area for Mk 1).
- 3D print most of the mechanical and parts and scenery to see how 3D printing works in a functional application.
- Make the machine significantly smaller and more portable than Mk 1.
- Use a minimal aesthetic that mirrors the original for added geek-appeal.
- Learn from the experience with Mk 1 to improve reliability and maintainability.
Prototyping
The initial goal of prototyping was to test an X-Y frame built using V-Slot and see how 3D printed parts would work. I had got an Ender 3 for Christmas and wanted to see whether basic PLA prints could be made useful. The first question was how big to make the machine? It was hard to know, but I wanted a narrow cabinet that could easily slot into an arcade. Eventually I chose to make the basic machine 60cm wide. That way it could fit on top of the Ikea mobile unit next to my desk which was where I did most of the testing. Sometimes any reason is a good reason.
Designing the parts for 3D printing involved learning Fusion 360. It's got a learning curve, but as 3D software goes I would say it was more usable than most. I recommend a SpaceMouse to control the camera - that makes things much easier.
The prototype construction worked very well. I really like the V-Slot system and the 3D printed parts seemed robust and stable enough for the job. 3D Printing definitely has pros and cons for this type of application. If your printer is working well then you have pretty good control of the dimensions and you can make complicated shapes in one operation. The downsides include it being another thing that's done in front of a computer, difficulty in modifying parts without doing a new print, and long print times. One thing that I do to try and reduce the need for mods and reprints is to put lots of holes in the part design to allow for mounting of unexpected attachment or routing of cables.
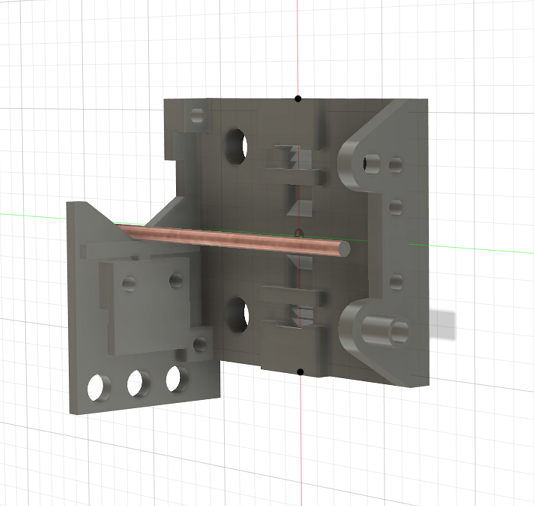
The trickiest part of the prototype was how to detect when the lander hit the landscape. This was one area where Mk1 was weak. I tried various options before settling on a simple"V" shaped slot that the axle that holds the lander runs though. If the lander hits the landscape it will lift the axle out of the V triggering a microswitch. Of course, this mechanism isn't perfectly precise, but a bit of unpredictability and the chance to get out of a "scrape" unimpeded adds to the interest of the game.
As I was getting to the end of the prototyping, Covid-19 became a concern and EMF Camp 2020 was cancelled. Now I had what turned out to be more than 2 years to finish the project. Inevitably I used all that time!
Construction
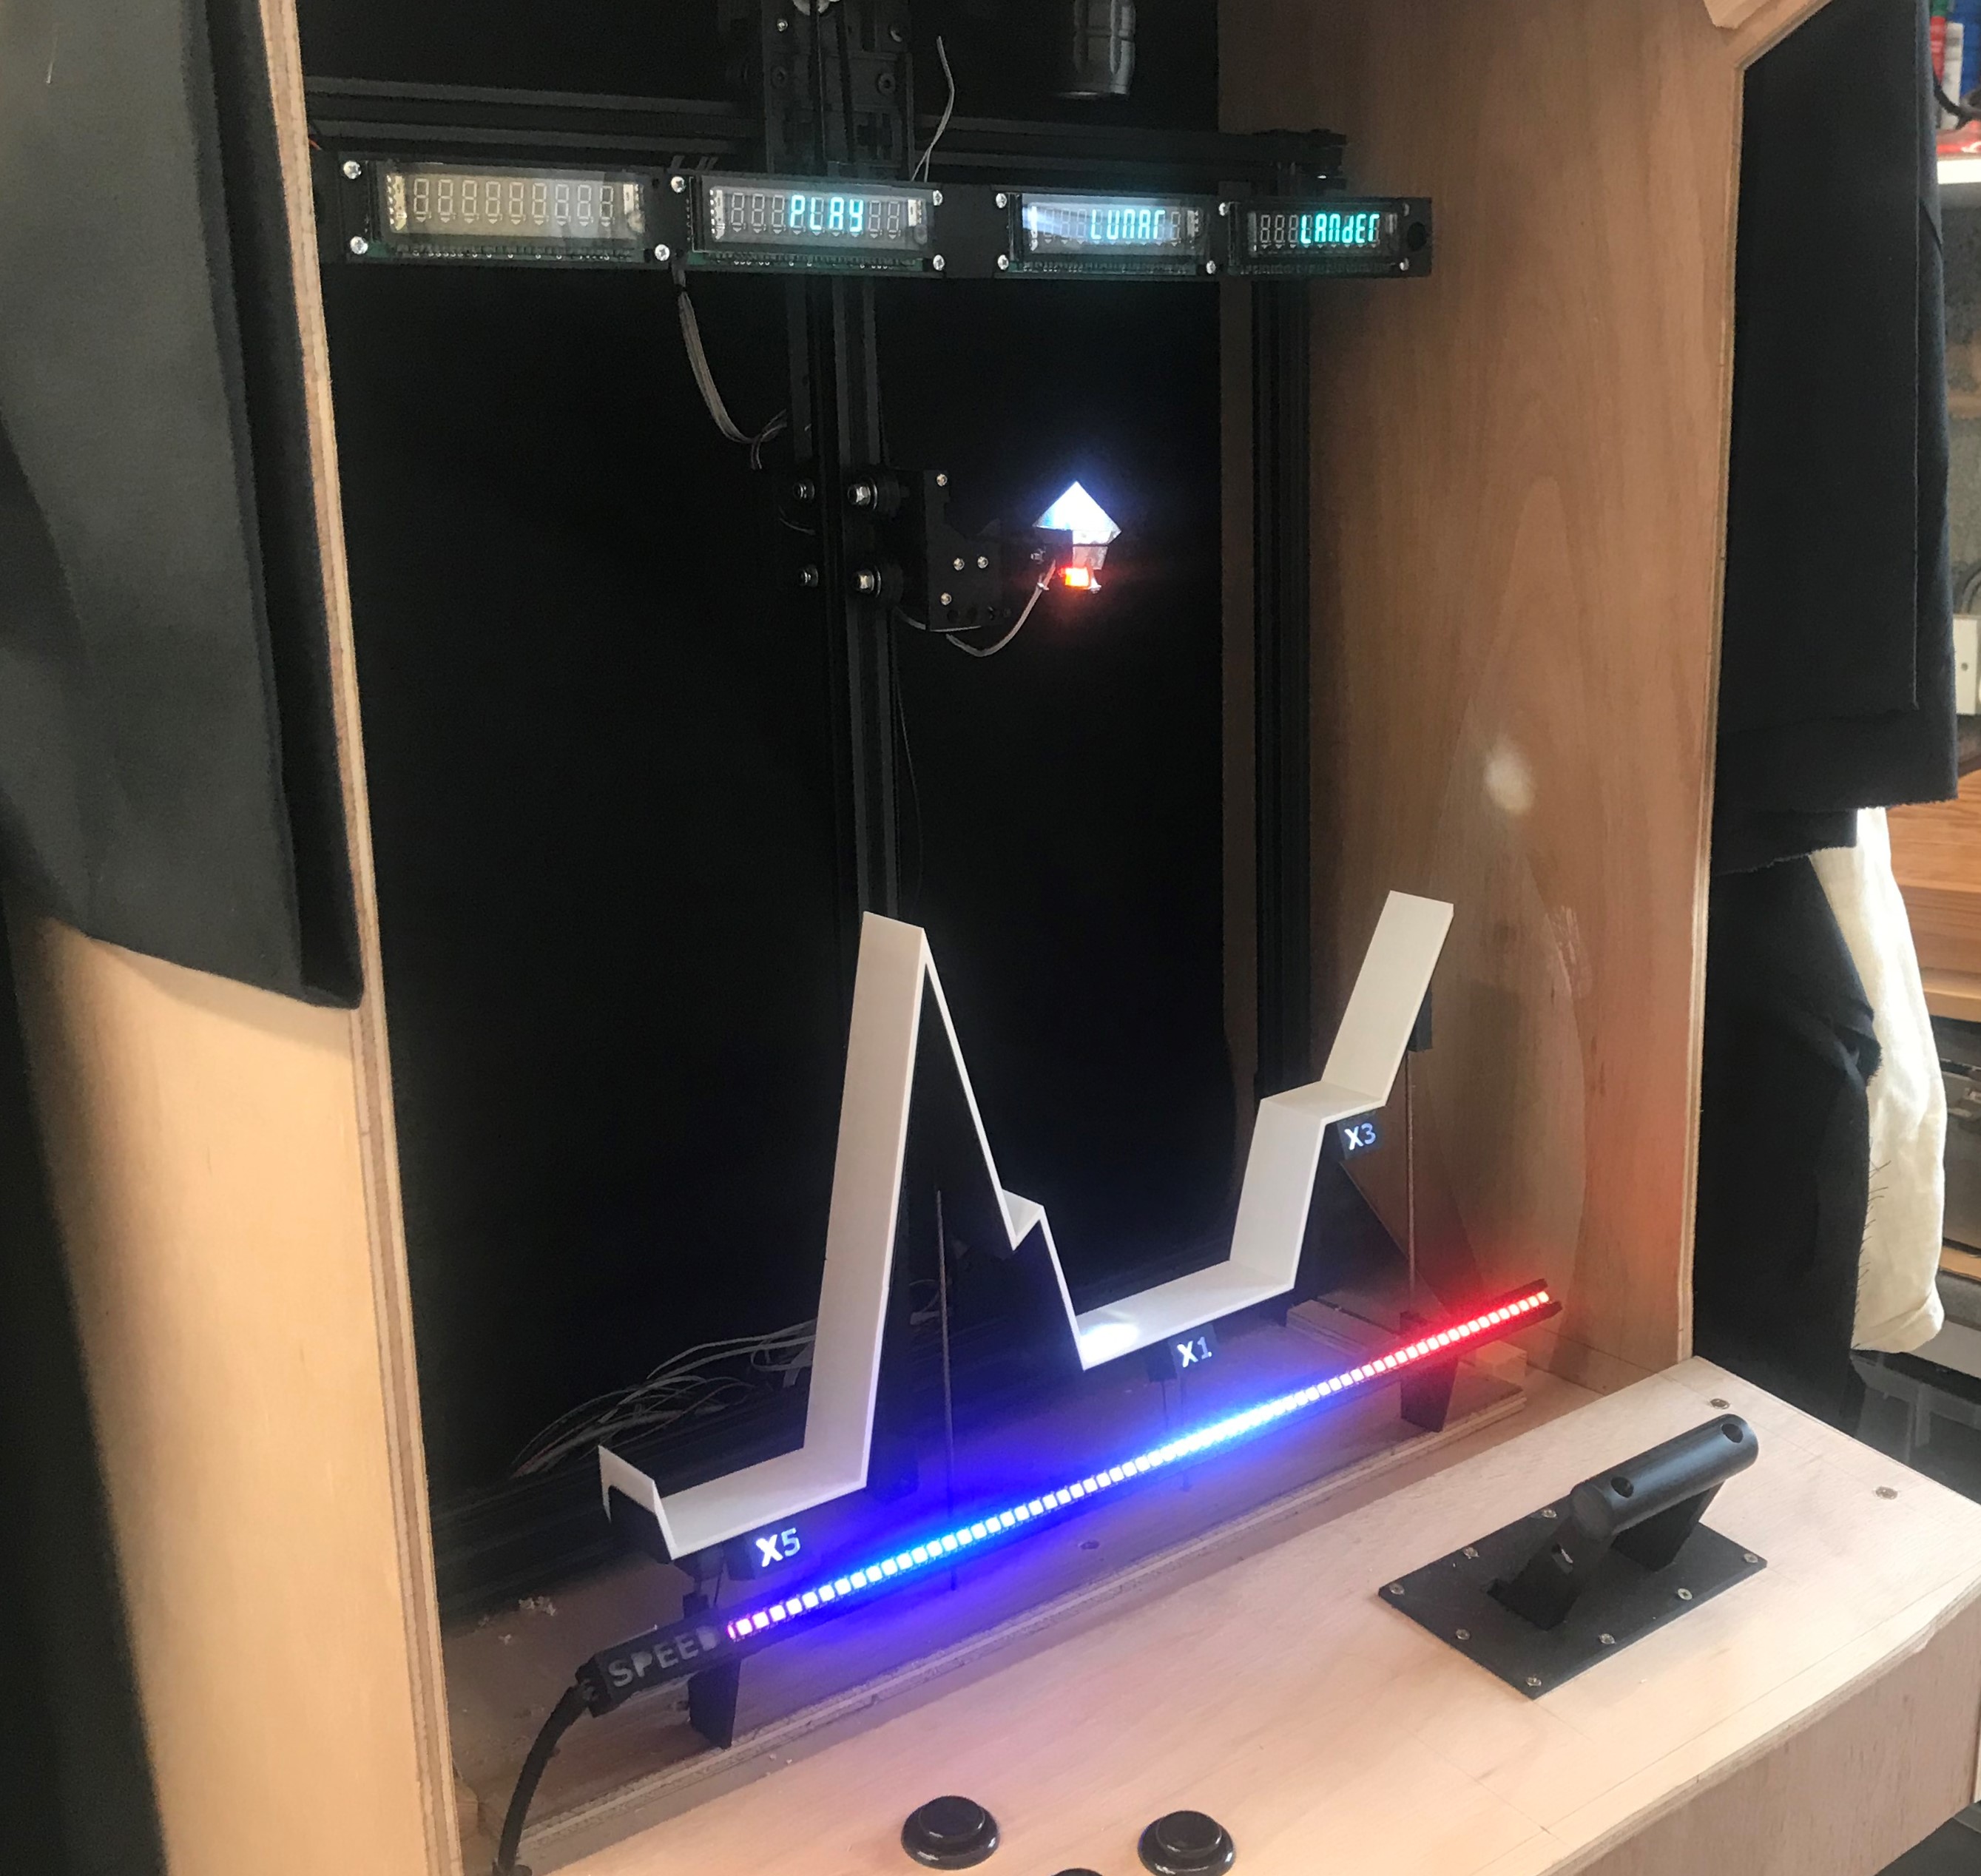
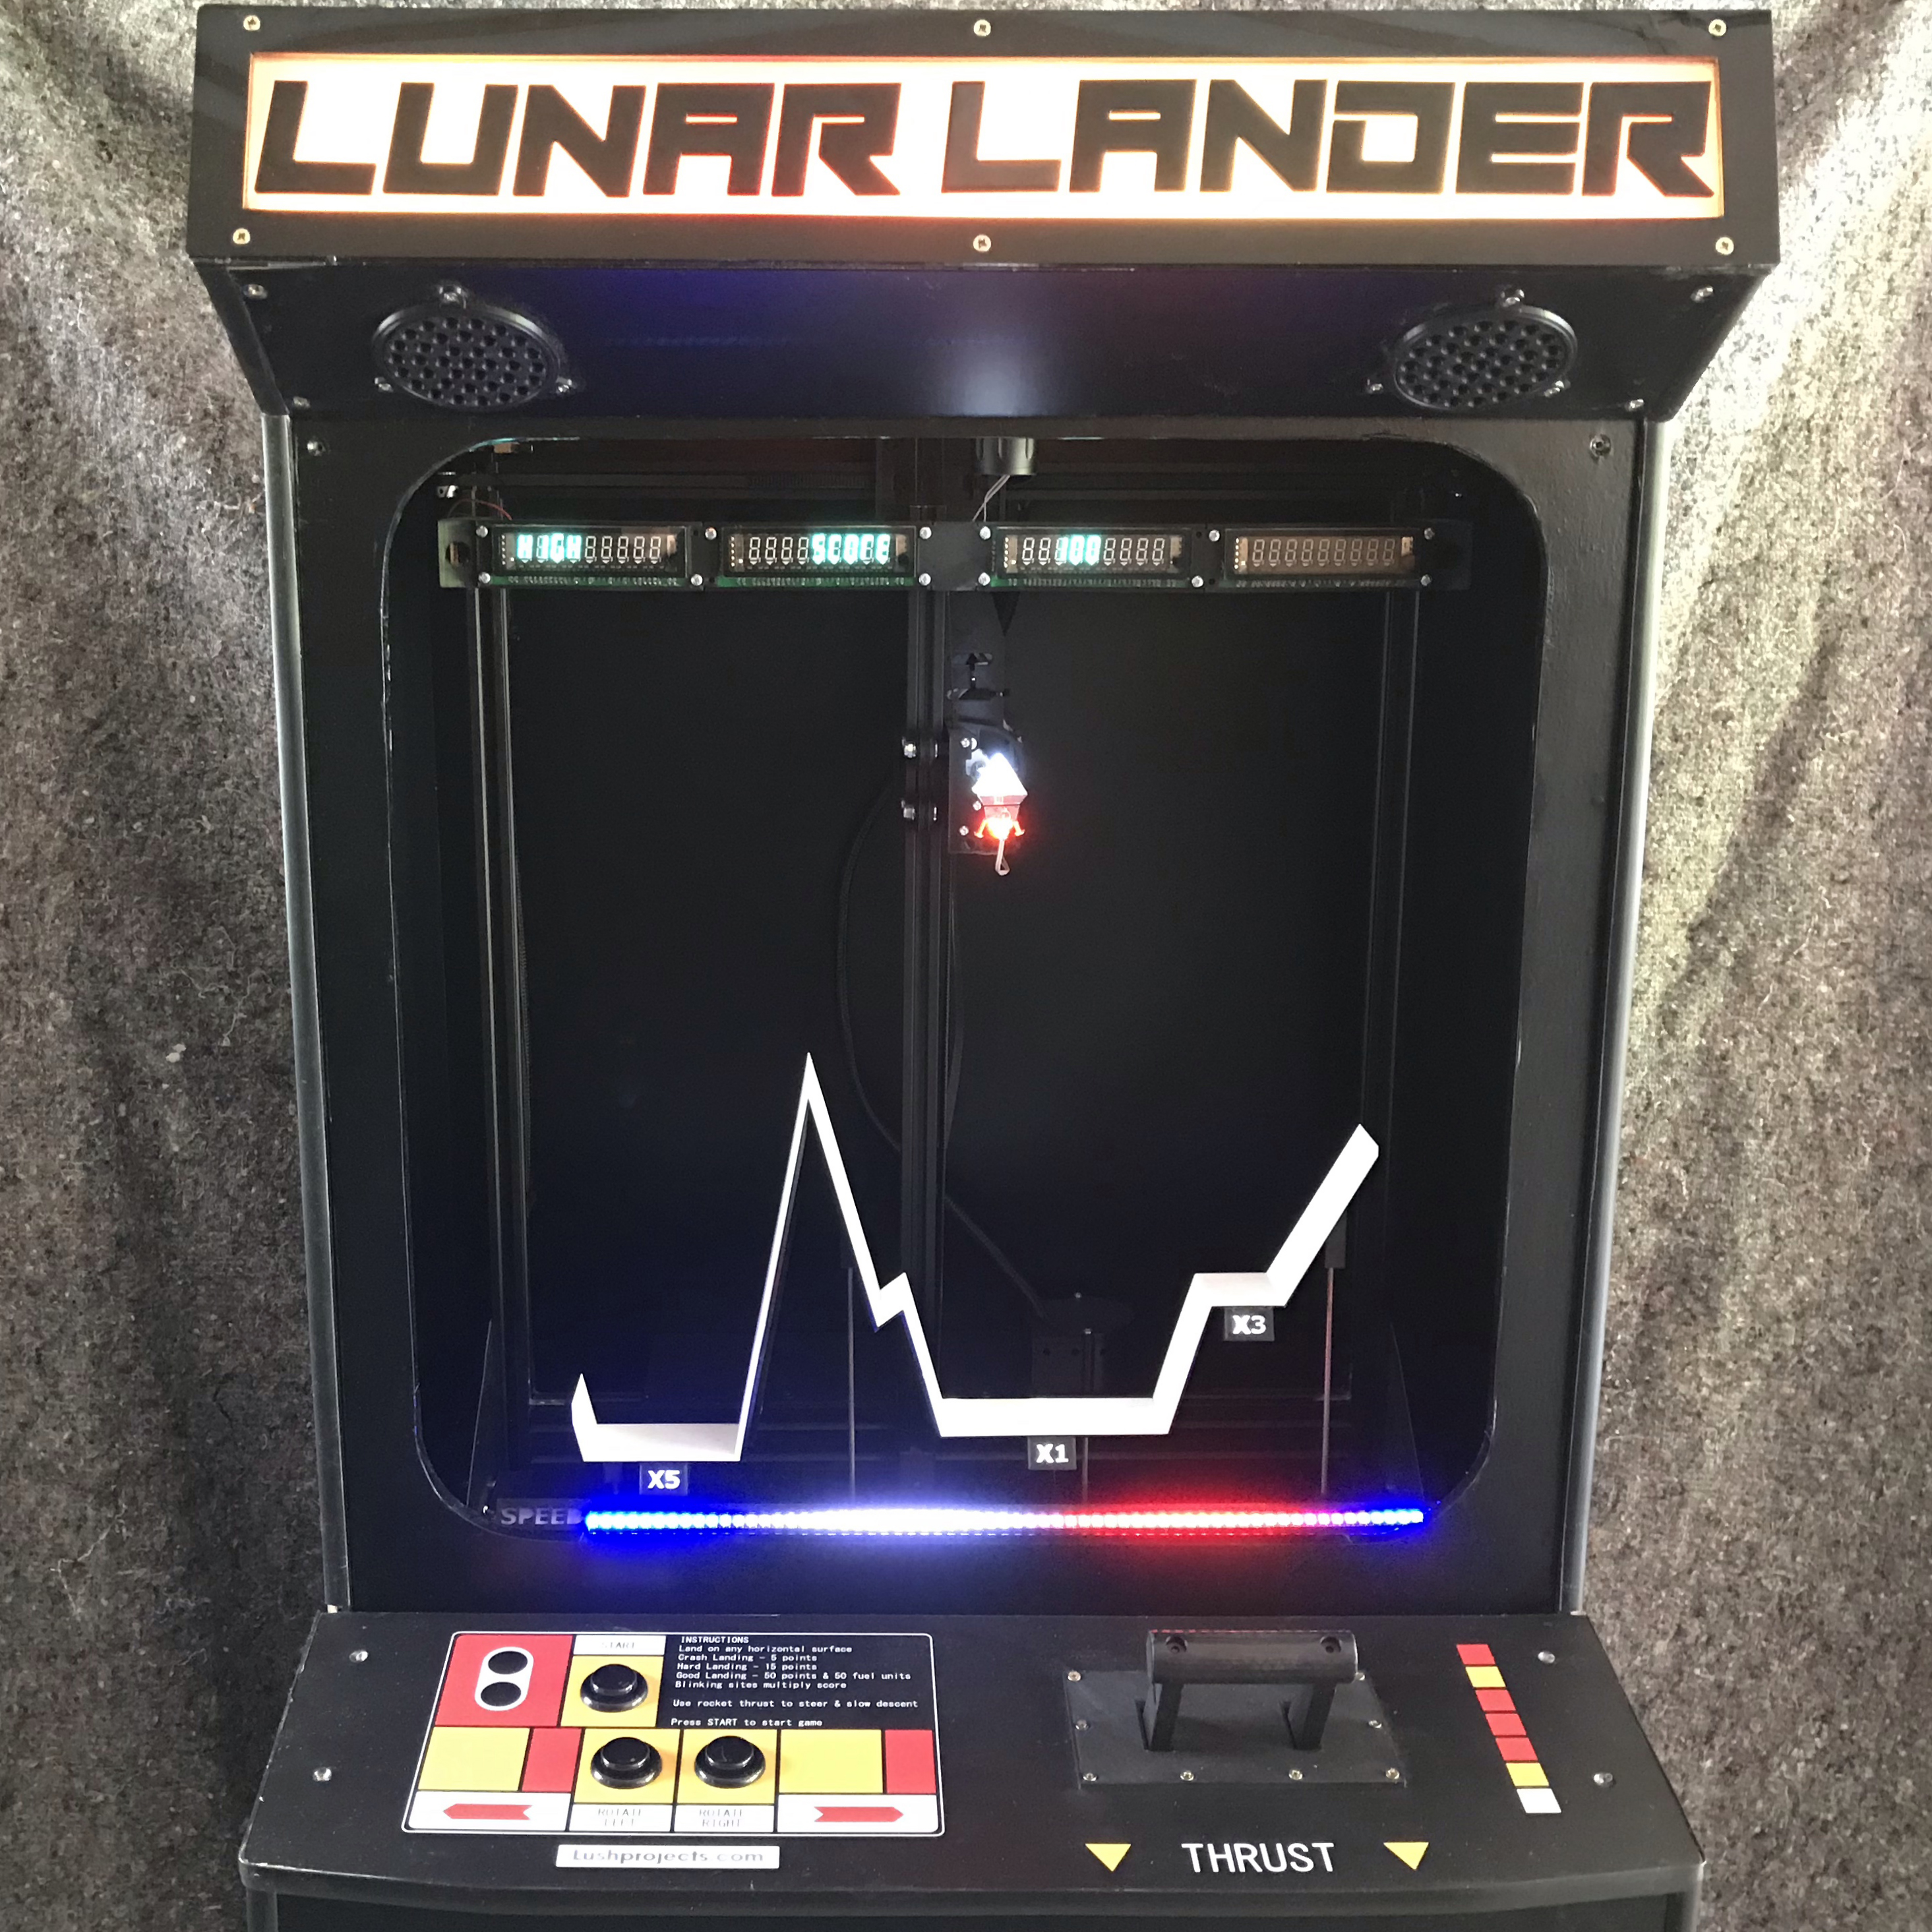
With the prototype proving the basic concepts I could think about construction. For a long time I couldn't make up my mind how to design the landscape and how to print a wide landscape on my small printer. In the end I designed a two-colour, multi-part landscape that could be glued to make one piece. It was printed on the narrow edge and is a pretty elegant design IMHO. From the font the landscape looks like a suspended white strip, very similar to the vector line landscape in the original.
The software is a modified version of the Python program from Mk 1. For Mk 2 I ported it to a Raspberry Pi 4. With the improvements in Python performance over the last 10 years it runs better on the Pi than it did on a PC in Mk 1. In real arcades machines are often just powered-off with no shutdown so I used the Pi's Overlay File System for the production version to protect against disk corruption.
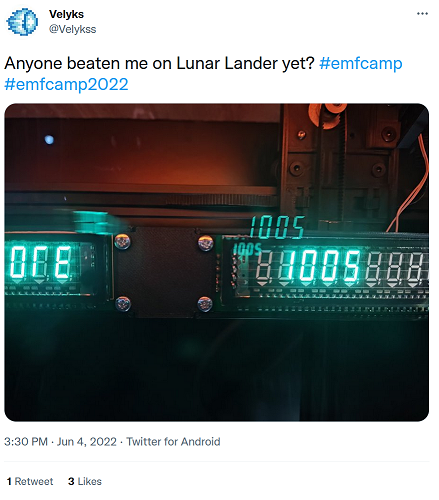
I wanted to go with a minimal and retro-looking display and I ended up using some 7 segment vacuum fluorescent displays from China. I couldn't resist adding some NeoPixel strips for lighting effects and to use as a speed indicator too though.
The user controls are off the shelf arcade buttons plus a 3D printed throttle control. We'll see how well that copes with the rough handling I expect it to get. The handle was sanded smooth to remove the rough 3D printed finish. Apart from that I've left the 3D prints as the came off the printer. I like that many people will recognize that they are made on a cheap home 3D printer - it gives the machine a kind-of authenticity.
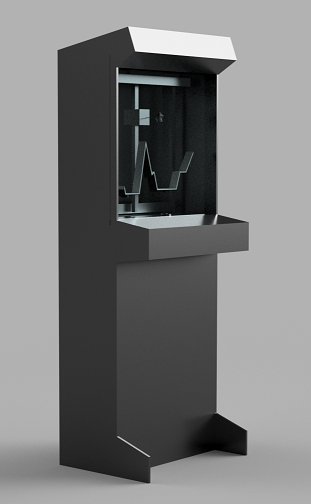
The case is 12mm plywood covered in self-adhesive vinyl. Frankly, there is no case material I really like. They are all either too heavy, or expensive, or flexible, or hard to work with, or ugly, or .... well you get the drift. One thing I've done as an experiment is to split the case in two parts vertically to allow it to be transported in two pieces or to allow the top part (which holds the game) to be used on its own as a table-top installation.
It's certainly a lot more portable than Mk 1, but it's still heavier and harder to move than I would ideally like.
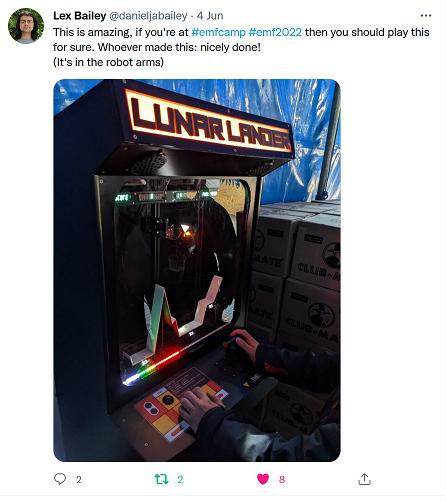
Lunar Lander at EMF Camp 2022
Lunar Lander was installed in the bar at EMF Camp 2022.
It was a great success and performed flawlessly and always had a crowd round it. There were may kind comments.
We also had an impressive high-score of 1005 set.
Lunar Lander at Southwold Pier
After EMF Camp 2022 I made a few upgrades to Lunar Lander. Somebody recommended I changed the stepper drivers to those based on TMC chips for quieter operation. The TMC drivers are really wonderful in terms of performance and almost eliminate the classic stepper motor whine. Unfortunately they were not 100% compatible with the previous drivers so there had to be re-work of the stepper control. The main problem was that the microstep mode used in Lunar Lander wasn't selectable from the TMC pins. I had to implement register writing to the TMC drivers.
Lunar Lander went to the Under the Pier Show at Southwold in late 2022. The main technical problem was of my own making. While in updating the stepper control I mistyped the UART baud rate in the control software. This caused intermittent communications failures that made the machine hang. Debugging that remotely was painful.
Despite the bug, Lunar Lander seemed popular. So much so that my 3D printed throttle got broken by some over-enthusiastic player. Tim Hunkin made a new throttle control in metal.
One funny learning was that the general public were nothing like as good at Lunar Lander than the geeks at EMF Camp had been. At Tim's urging I made several changes to change the game parameters to make the game easier and the win criteria more tolerant. Even after these changes a lot of people still seem to find it hard to land in a very controlled manner.
Lunar Lander returned to the new arcade at EMF Camp 2024 where it was very popular. On the last day the Raspberry Pi controlling the game stopped booting. I took the opportunity to take the game home for some improvements. Lunar Lander's space at Southwold will be taken by Appybird.